


Store News
How to Clean Ceiling Lights
Aug

How to Clean Ceiling Lights
There’s no question that cleaning ceiling lights—lighting that is usually far
out of reach—can be tricky. Here are some tips that will make it easier to
keep your ceiling lights looking their best and shining bright.
Getting a fabulous new light fixture can be the perfect way to complete a space. It’s often the shining jewel to the rest of your home. But, like a good piece of jewelry, the time comes to put a little shine back on that bauble.
When there’s visible dust or the brightness of a fixture has lost a bit of luster, it might be time for a polish. How to clean a light fixture might seem like a bit of a mystery—but it can and should be done. Here’s how:
Safety First
The first step to cleaning any light fixture is safety, especially as it relates to accessing it. When a fixture is suspended high up, you might need a step stool, a ladder or even a scissor lift. Having a stable working surface is a must.
Check Your Checklist
Before you get started, gather the cleaning supplies you might need to save you running up and down a ladder.
- Lint-free cloth
- Dusting sheets
- Canned air
- Water (in a spray bottle)
- Gentle all-purpose cleaner
- Phillips head screwdriver
- Flat head screwdriver
- Correct replacement bulbs
Go Step by Step
Turn the fixture off: This seems basic, but it is critical. For your safety, and to protect the fixture, ensure that the there is no power running to the fixture. Turning off at the switch will usually take care of it, but you can always shut off the power at the breaker as well.
Remove shades: If your fixture has a removable shade, carefully remove it. Prep a safe, flat space that’s out of the way with an old towel to place shades on. With hanging fixtures, using a towel or blanket under the fixture can save your floor from anything that might be dropped.
Clean the frame: Once any of the shades or diffusers are removed, clean off the frame using whatever is best for the given material. Specific materials require special cleaning methods. If there are manufacturer instructions, always default to those cleaning instructions. In lieu of that, here are some basic guidelines:
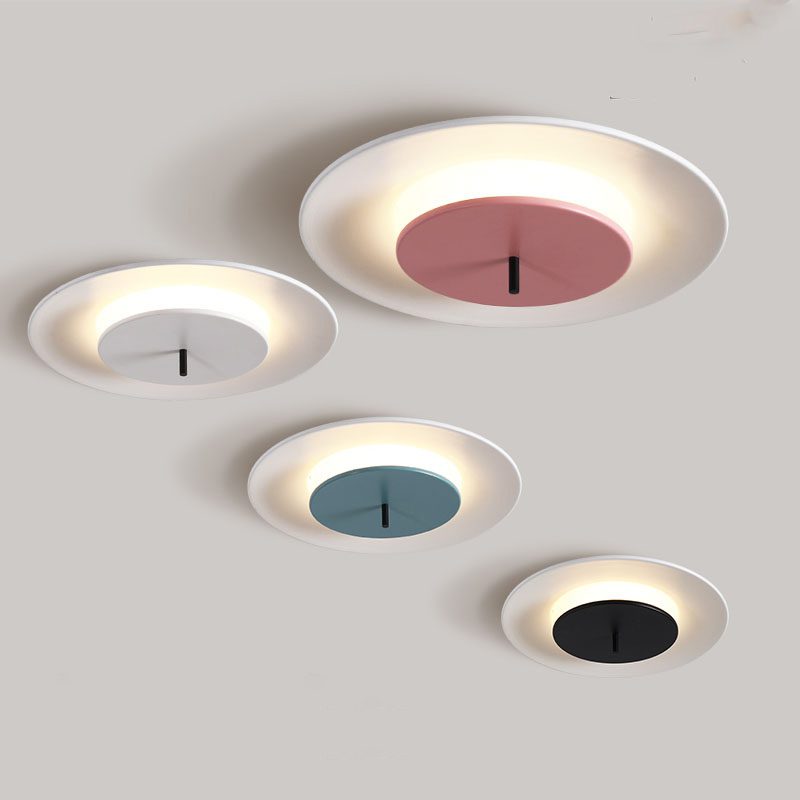
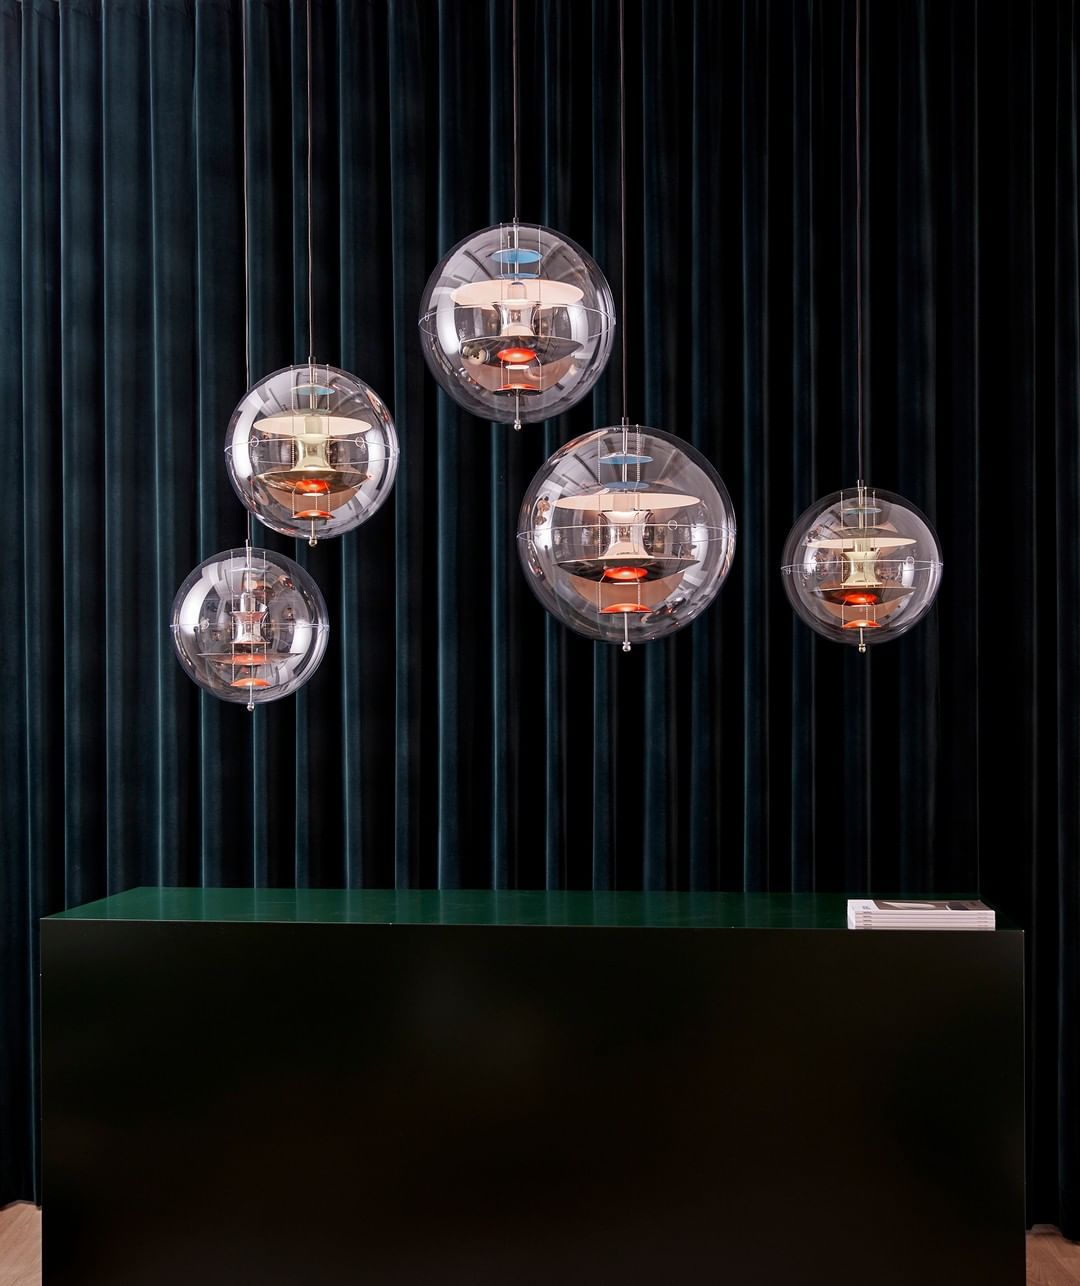
Glass and porcelain: Opal glass, etched glass, and blown glass are among the easiest to clean. To clean off general dust, just wipe down with a lint free cloth. For spaces with damp or greasy conditions (bathrooms, kitchens), a damp cloth will work well, but be sure to wipe the fixture completely dry to avoid water spots. For shades that can be removed, you can take them down and wash them in warm water with a light dish soap (but be careful of slippery hands!). If your glass light fixture has paint, gold leaf or another finish on it, avoid using moisture to clean it at all.

Crystal: This can be a tricky material. Being extra careful is key to keeping crystal’s facets sharp and sparkling. A delicate shot of canned air will help with basic dust build-up. For a more deep clean, look for specialty crystal chandelier cleaner that can be found at any hardware store.

Metal: Wipe metal light fixtures down with a clean, lint-free cloth. For high-shine finishes, a glass or metal cleaner can get rid of stubborn smudges or any greasy residue. Take extra care with rubbed, patina or antiqued finishes, as sometimes they are only applied atop the final finish and could be wiped off with water or cleaner.

Fabric and paper: You’ll find this most commonly used for the shade of a fixture. And it’s the part that should be cleaned the most regularly, as it’s the most susceptible to damage from build-up of dust. Knock off any heavy dust with some canned air and gently dust the rest using a dusting sheet. While most fabric shades cannot handle a damp clean, there are more outdoor materials that are being used for durability, so check your guide from the manufacturer. For wet-rated fixtures that live outdoors, you can go as far as rinsing them off with the hose.
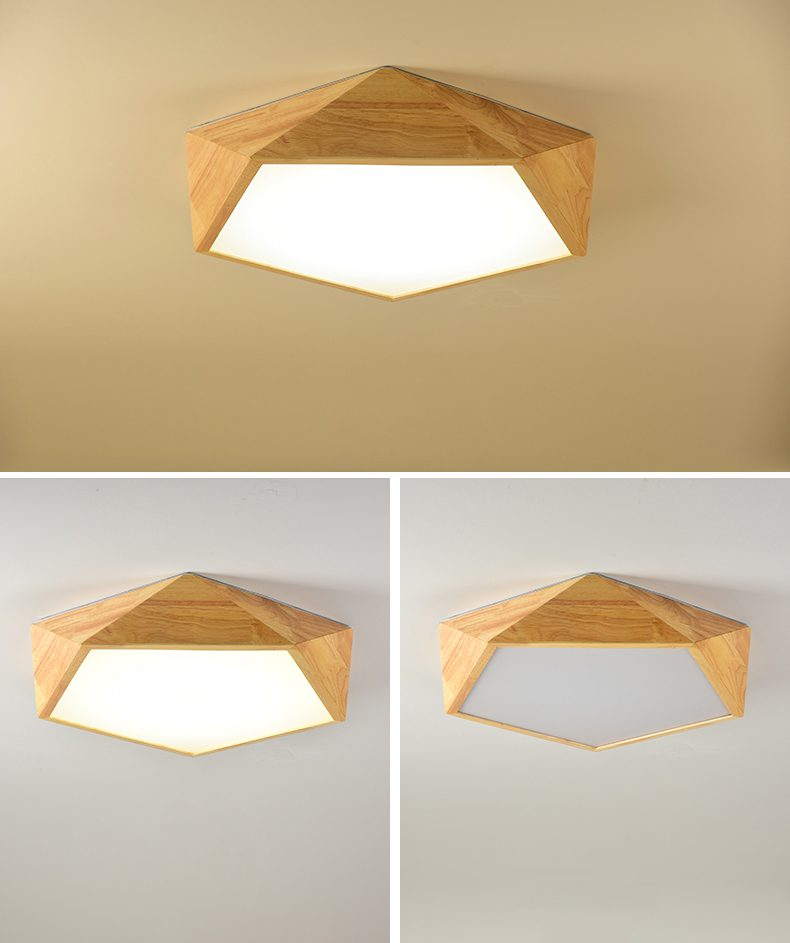
Wood: The cleaning depends on the finish of the wood. As with fabric shades, use canned air for heavy dust and finish with a dusting cloth. Be careful of heavy or raised grain (common in reclaimed wood), because dust will settle within the deeper ridges, and it will catch fibers.
Acrylic and plastic: Much like glass, acrylics and plastics are easy to take care of. Wipe the surface with a lint-free cloth and a slightly damp cloth for stubborn smudges. Unlike glass, avoid fully washing acrylic shades, as they will tend to water-spot much easier.
Clean or replace bulbs: While you’re at it, this is a great time to replace any bulbs as needed. There’s no need to throw anything away early. But if you’ve spotted any bulbs looking a little dim, they may be toward the end of their lifespan, and you can save yourself a trip up the ladder later.

PRO TIP
Pay extra care to these parts to keep your light fixtures clean:
Bowl pendants: These can be huge dust traps. It’s important that you don’t just clean the bowl, but also the bulbs within if you aren’t replacing them. It’s not as big of an issue with cooler CLF or LED bulbs, but halogen bulbs can become a danger if left to become covered with built-up dust.
Drum-shaped flushmounts and pendants: Drum-shaped light fixtures are another potential dust trap. Make sure to remove the diffusers on both the bottom and top (if applicable) to make sure to get the fixture fully clean.
Fabric cords: Be careful when wiping these down, as you can just force dust into the weave. Instead, blow off with canned air and gently wipe with a dusting cloth that picks up the dust as opposed to just moving it around.
Re-assemble: If needed, take notes on or photos of how your light fixture came apart so that you can get it back together.
There you go. While it doesn’t need to happen alongside your weekly cleaning ritual, giving your lighting a polish once a season or so can make sure yours shines its brightest for a long time.